Vintage Radio Refurb
Yes, Have Some
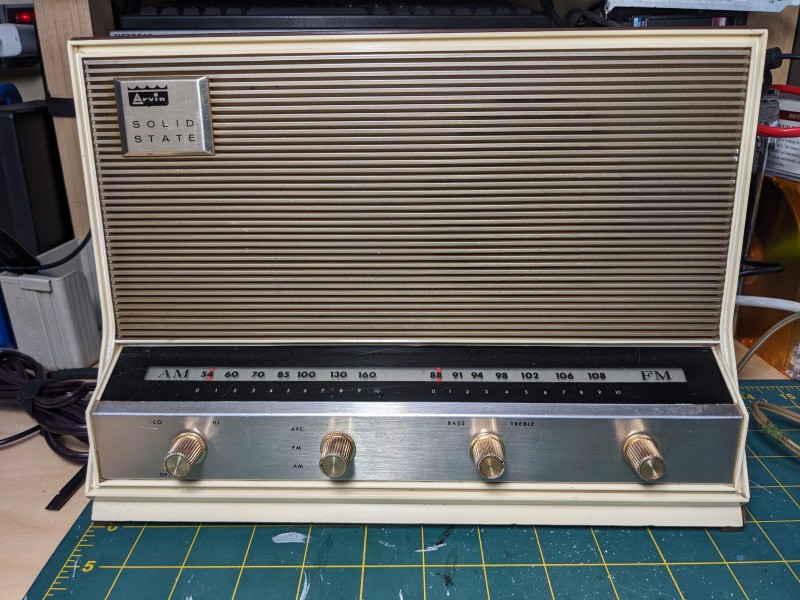
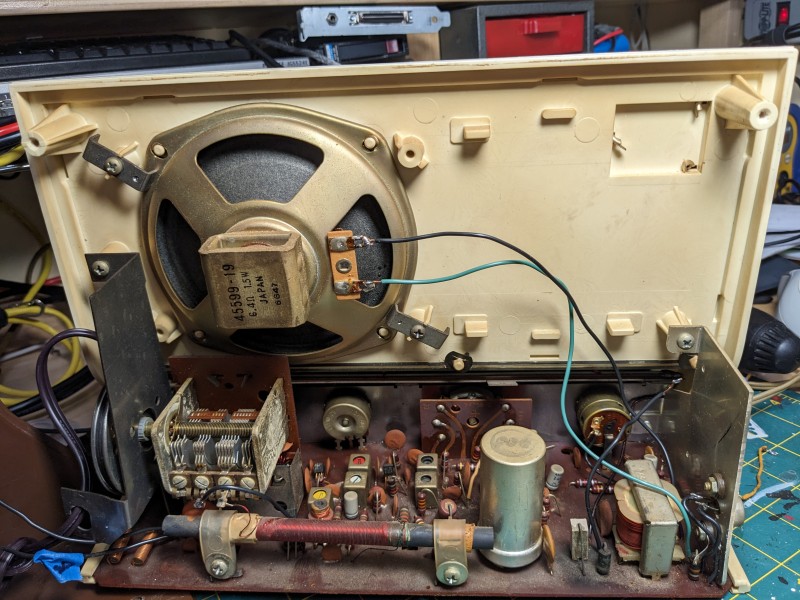
Last week I went around to a few of Natalie's old radios and hit their volume and tone pots with contact cleaner because they were all scratchy. As I was putting the cover back on this Arvin radio Natalie scored for like $5 this year I saw that it had been infected by the green goop plague. This is phthalates breaking down to goo due to interactions between the copper and the insulator they use, so it's pretty much just fatal.
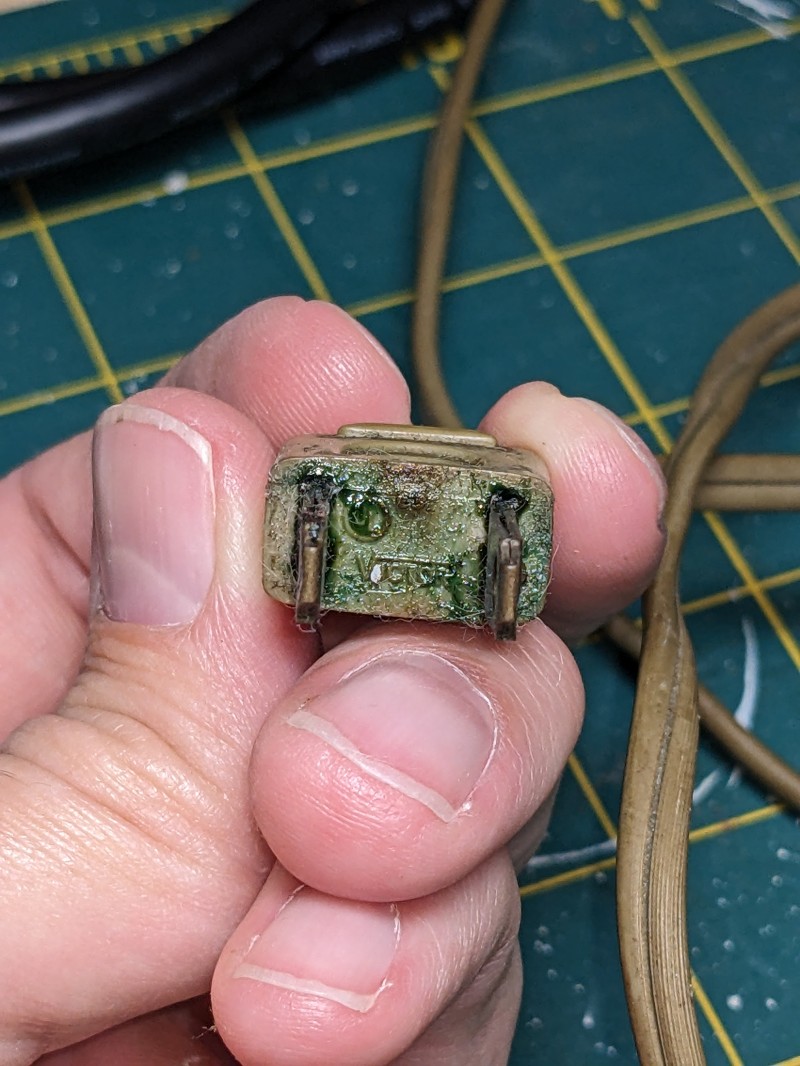
So I decided it would be a good quick easy project for us to do in a free afternoon. Turns out... Well once we got inside and actually started looking around, pretty much all the internal cabling was sticky and brittle, so we had to label and replace all these decrepit old wires with fresh. So this turned into a couple hour job.
Exhibit A:
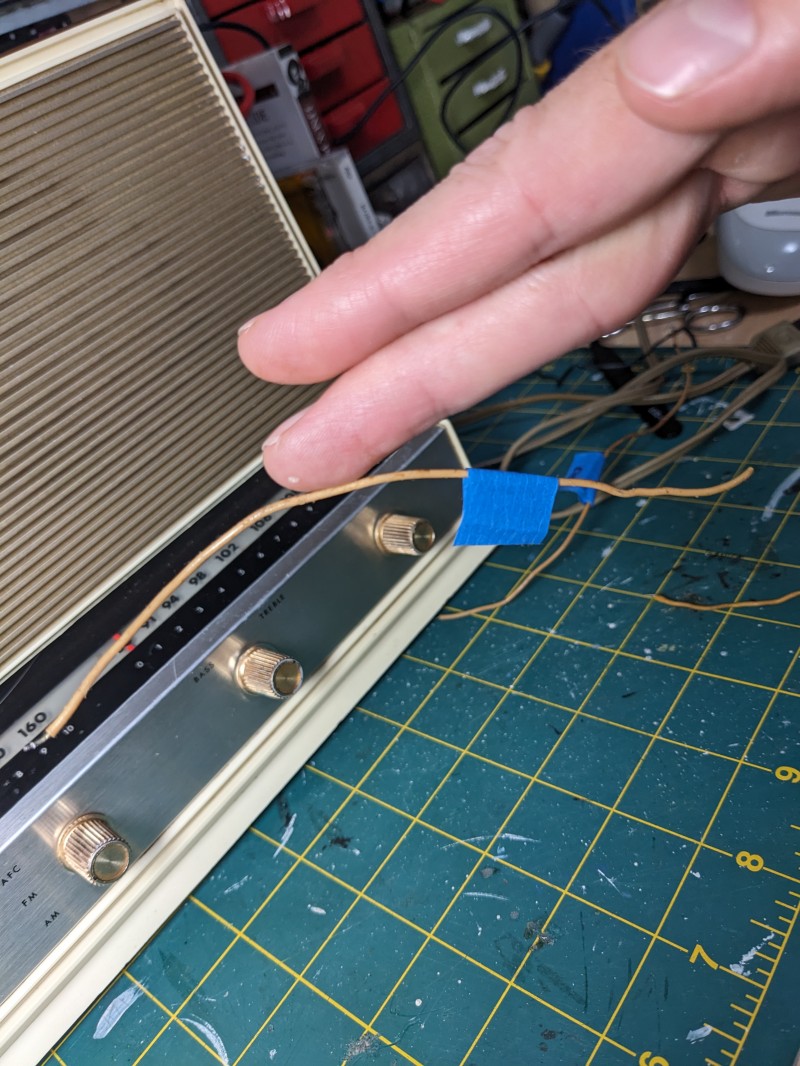
Since all the wires were the same, Natalie just made detailed photos of where evrything went and just laid out an arbitrary pattern and started removing wires.
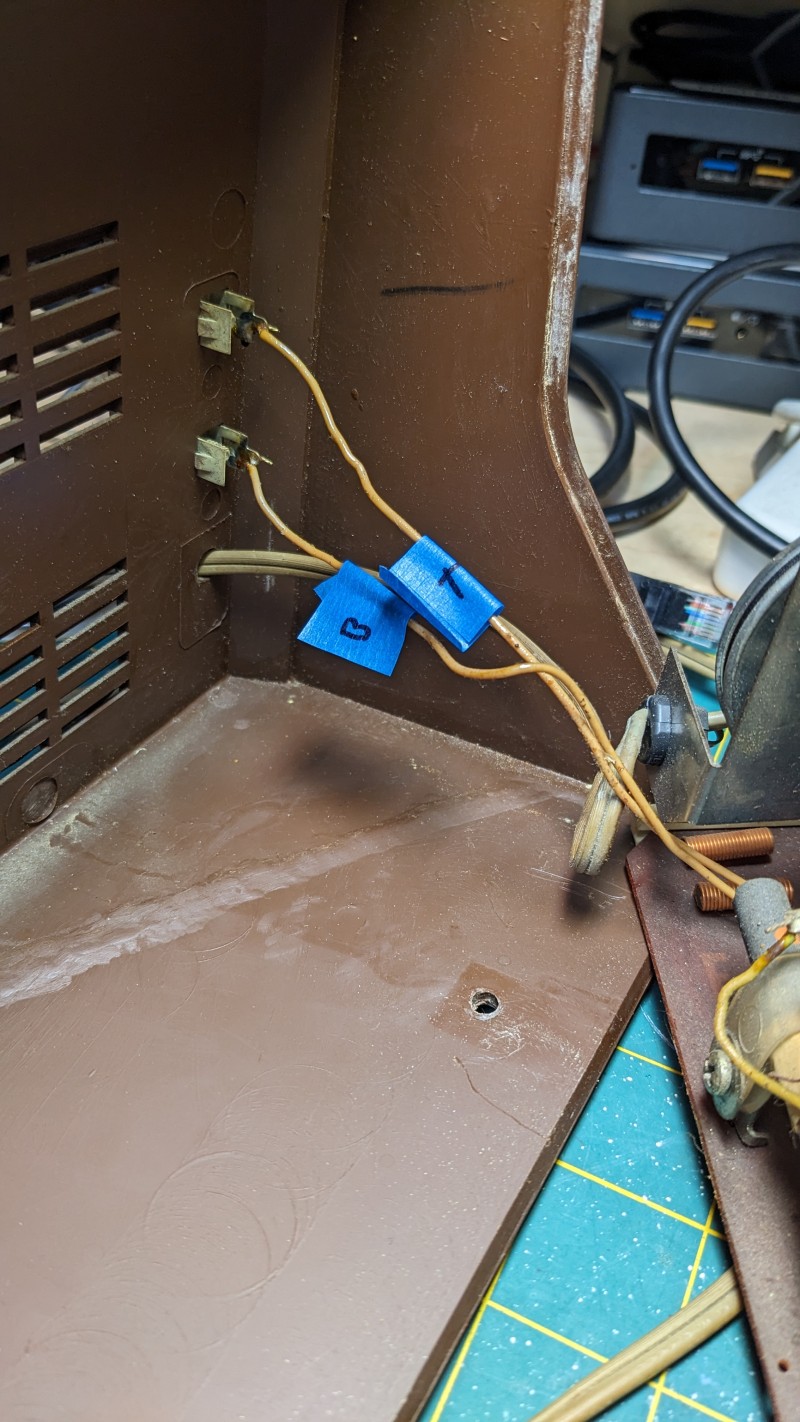
In this house, we don't label wires by polarity, or voltage, or channel. We use T for Top and B for Bottom. Natalie did this, but I do it at work too. If I'm re-cabling a machine with 12 network cables I don't care about what port the OS thinks this is or whatever switch port it's in. I just label them literally left to right with painters tape "T1, T2, T3..." "B1, B2, B3...".
This would have all been much easier if we'd spent 5 minutes to figure out how to safely position this so we weren't soldering on a vertially oriented surface. Important safety tip:
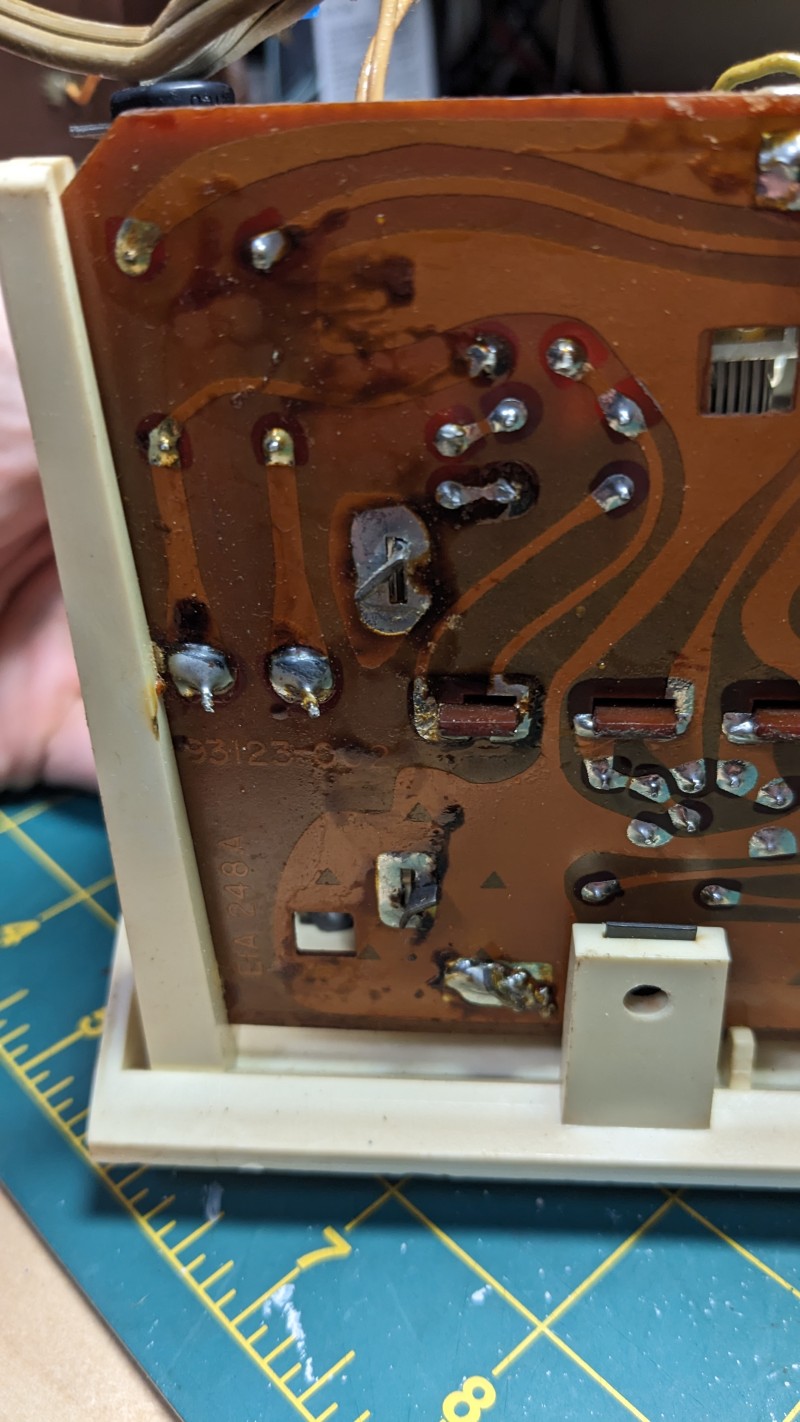
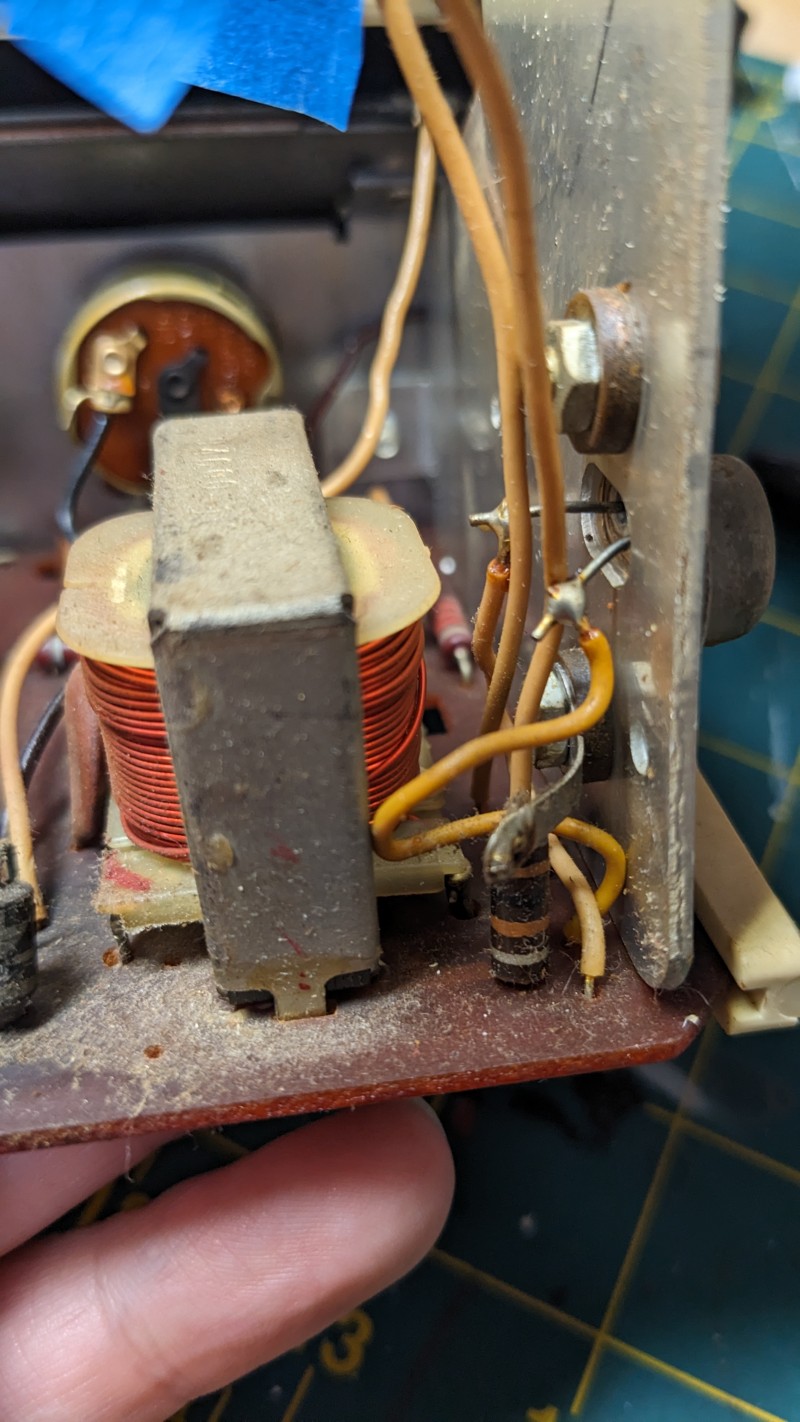
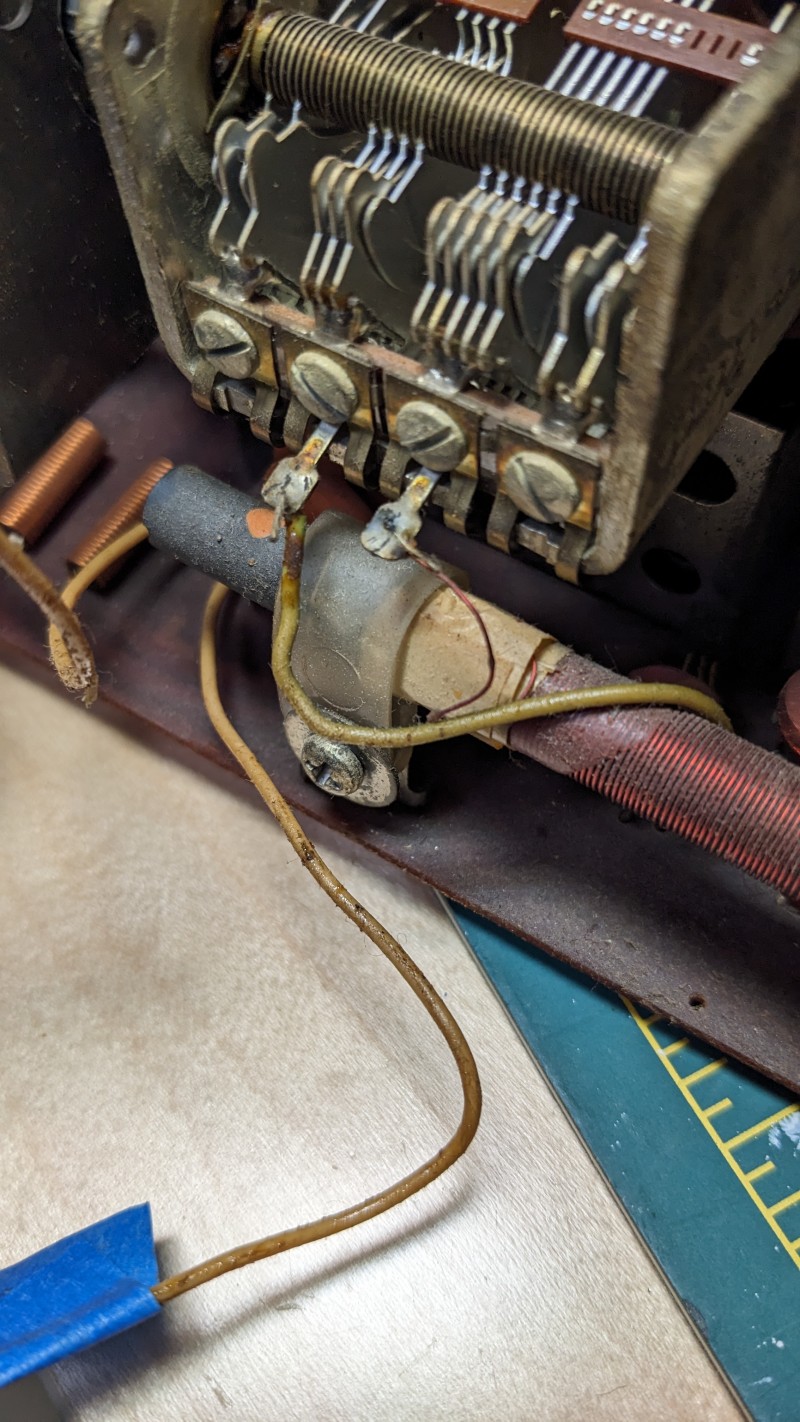
After everything that needed replacing's been replaced:
- xrayspx's blog
- Log in to post comments
- 1024 reads


